My ultrasound coaxial cable has developed a short circuit – how to fix? | High-Quality Ultrasound Coaxial Cable | ultrasound coaxial cable Manufacturer & Factory-FRS

My ultrasound coaxial cable has developed a short circuit – how to fix?

Diagnosing and Repairing a Short Circuit in Your Ultrasound Coaxial Cable A short circuit in an ultrasound coaxial cable is… - Professional Ultrasound Coaxial Cable Solutions

Information

Learn more about, latest news, frequently asked questions

Diagnosing and Repairing a Short Circuit in Your Ultrasound Coaxial Cable

A short circuit in an ultrasound coaxial cable is more than just an inconvenience—it can lead to image artifacts, signal loss, and costly downtime​ in clinical or research settings. Understanding how to diagnose and address this issue is crucial for maintaining the performance and longevity of your medical imaging equipment. This guide provides a structured approach to troubleshooting and fixing a shorted ultrasound coaxial cable, blending practical steps with insights into the technology that makes these components vital for high-fidelity diagnostics.

Understanding Ultrasound Coaxial Cables and Short Circuits

Ultrasound coaxial cables are engineered marvels, designed to transmit high-frequency signals with minimal loss and interference. Unlike standard coaxial cables, such as the common RG6 used in television applications, ultrasound variants often incorporate extremely fine coaxial wires (micro-coax), sometimes numbering in the hundreds within a single probe cable . Each of these micro-coaxial lines acts as an independent channel, carrying signals from individual transducer elements in the probe to the ultrasound system’s processing unit. Their construction typically involves a central conductor, dielectric insulation, a metallic shield, and a durable yet flexible outer jacket designed to withstand the rigors of clinical use .

A short circuit occurs when the central conductor inadvertently contacts the surrounding metallic shield or another conductor, creating an unintended path for the electrical current. This can manifest in several ways during an ultrasound examination:

  • Image Interference: Persistent noise, shadows, or erratic lines on the display that are not attributable to the patient .
  • System Errors: The ultrasound unit may fail to recognize the probe or display error messages related to probe connectivity.
  • Intermittent Signal Loss: The image may flicker or cut out entirely when the cable is moved or bent in a specific way.

Common causes of shorts include physical trauma from improper handling​ (e.g., sharp bends, crushing, or pinching in equipment drawers), damage from disinfectants​ degrading the cable jacket over time, and general wear and tear that leads to the breakdown of internal insulation .

Step-by-Step Diagnostic and Repair Guide

Before beginning any hands-on work, prioritize safety. Power off the ultrasound system completely and unplug it from the electrical outlet. Attempting repairs on a live system is hazardous and can cause further damage to the sensitive electronics of your machine.

1. Initial Diagnosis and Confirmation

The first step is to confirm that the coaxial cable is indeed the source of the problem.

  • Isolate the Probe: If possible, test the ultrasound probe on a different, known-functioning machine of the same model. If the issue persists across systems, the problem likely lies with the probe or its cable.
  • Visual Inspection: Carefully examine the entire length of the cable. Look for obvious signs of damage such as cuts, abrasions, kinks, or swelling​ in the outer jacket. Pay close attention to areas near the probe and connector, which are common failure points due to repeated stress .
  • Basic Signal Check: Reconnect the probe to the ultrasound machine and gently flex the cable along its length while observing the image. If the interference appears or disappears with specific movements, it strongly indicates a break or short within the cable.

For technical personnel comfortable with a multimeter, further testing can be performed:

  • Continuity Test: Set the multimeter to measure resistance (Ohms). Place one probe on the central pin of the cable’s connector and the other on the outer shield. A very low resistance reading (close to zero Ohms) indicates a direct short. A normal cable should show an open circuit or a very high resistance .
  • Insulation Resistance Test: This more advanced test uses a megohmmeter to apply a high voltage between the conductor and the shield. A significant drop in insulation resistance confirms a breakdown in the dielectric material, even if no direct short is present.

2. Repair Options and Procedures

The appropriate repair action depends on the location and severity of the damage.

  • For Minor Outer Jacket Damage: If the damage is superficial and has not yet compromised the internal shield or conductors, a preventative repair is possible. You can use heat-shrink tubing​ or a specialized flexible silicone tape​ to seal the breach. This protects the internal components from moisture and coupling gel, preventing a future short .
  • For Major Damage or Internal Shorts: Important Note:​ Repairing the internal micro-coaxial wires of an ultrasound probe cable is an extremely delicate procedure that requires specialized tools, a clean environment (e.g., a laminar flow hood), and significant expertise. For most healthcare facilities, the following options are recommended:
    1. Professional Repair Service: This is often the most cost-effective and reliable solution. Specialist companies like FRS Medical Systems​ offer expert repair services for probes and cables. They possess the technical capability to replace entire cable assemblies or repair individual micro-coax lines, often providing a warranty on their work . The global market for ultrasound coaxial cable repair and replacement is significant, reflecting the critical need for these services .
    2. Cable Replacement: In cases of severe damage or for older probes, replacing the entire cable assembly might be the most prudent long-term solution. Companies like FRS​ supply OEM-compatible cable assemblies that meet original performance specifications.

3. The Professional Repair Process in Brief

A professional repair service typically follows a rigorous process :

  • Diagnostic Analysis: The probe and cable are connected to specialized test equipment to precisely locate the fault.
  • Cable Replacement or Repair: The damaged section is carefully removed. Technicians then splice in a new cable segment or replace the entire cable, performing precise soldering and shielding of hundreds of hair-thin wires.
  • Resealing and Reassembly: The repaired area is sealed with medical-grade epoxy and new strain reliefs are installed to prevent future failures.
  • Performance Validation: The repaired probe undergoes rigorous testing, including imaging performance checks on phantoms, to ensure it meets the original equipment manufacturer’s (OEM) standards before being returned to the customer.

Proactive Maintenance and Best Practices

Preventing cable damage is far more efficient and economical than repairing it. Integrate these practices into your equipment management routine:

  • Proper Handling and Storage: Always coil cables in large, loose loops. Avoid sharp bends and never hang a probe by its cable. Use dedicated storage cradles or holders.
  • Regular Cleaning and Inspection: Follow manufacturer guidelines for cleaning. Regularly inspect cables for early signs of wear, paying close attention to the strain reliefs at both ends. Catching minor damage early can prevent it from evolving into a major short circuit.
  • Staff Training: Educate all users on proper probe handling techniques. Simple awareness of the cable’s vulnerability can significantly reduce accidental damage.
  • Invest in Quality: When procuring new equipment or replacement cables, consider the build quality. FRS Medical Systems​ designs its coaxial cable assemblies with enhanced durability and superior shielding, utilizing materials like high-conductivity copper and robust PTFE jackets to ensure long-term signal integrity and resistance to common failure modes . The ultrasound coaxial cable market, valued in the billions, is driven by demand for higher reliability in medical imaging, underscoring the importance of quality components .

By understanding the causes of coaxial cable failure and adhering to a disciplined approach of diagnosis, professional repair, and preventative maintenance, you can ensure your ultrasound systems continue to provide the clear, reliable images essential for effective patient care. For complex issues, partnering with an experienced service provider is not just a fix—it’s an investment in your equipment’s operational lifespan.

Hot Selling Products

Discover our most popular furniture pieces that are loved by customers worldwide.
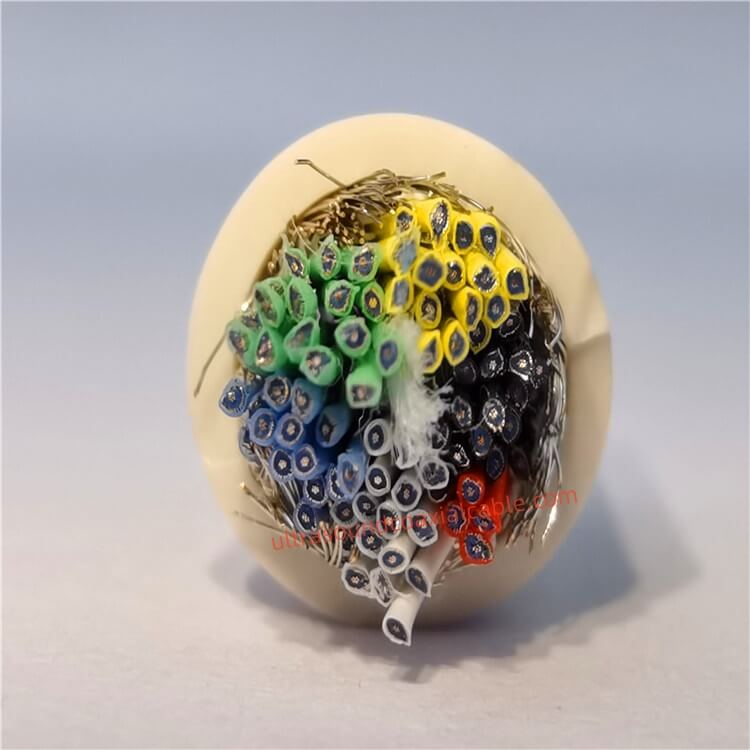
Ultrasound Coaxial Cable|High-Performance Signal Transmission for Precision Applications

Ultrasound Coaxial Cable|High-Performance Signal Transmission for Precision Applications

‌‌Product Overview‌The ‌Ultrasound Coaxial Cable‌ is a specialized cable engineered to deliver ultra-low signal loss, exceptional shielding, and unmatched durability in critical environments. Designed for medical imaging, industrial testi.
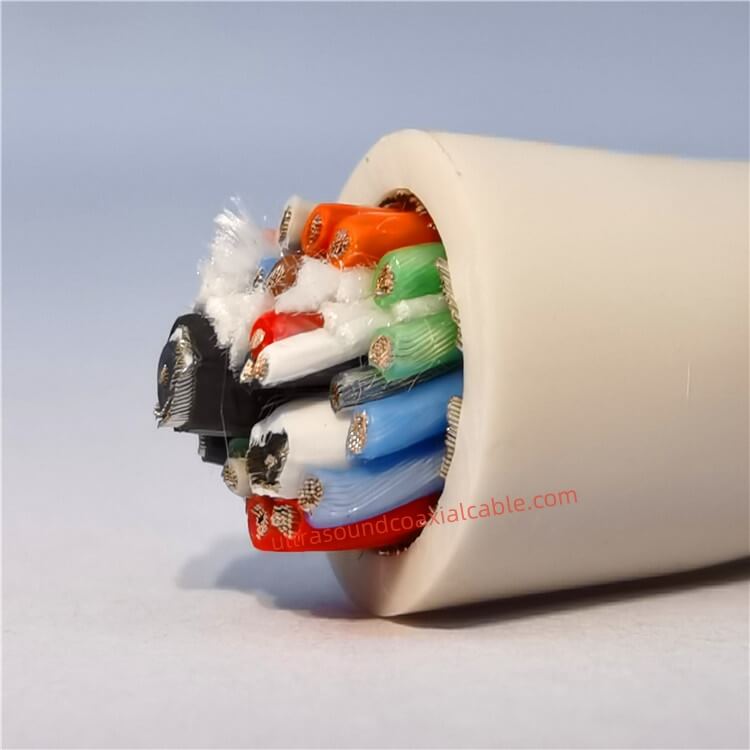
138-Core Medical Ultrasound Probe Coaxial Cable with 0.2mm Diameter – Biocompatible & FDA-Certified

138-Core Medical Ultrasound Probe Coaxial Cable with 0.2mm Diameter – Biocompatible & FDA-Certified

High-Precision 138-Core Medical Ultrasound Coaxial Cables | 0.2mm Ultra-Fine Biocompatible Design for Diagnostic Imaging Product Overview Engineered for advanced medical imaging systems, our 138-Core Medical Ultrasound Probe Coa.
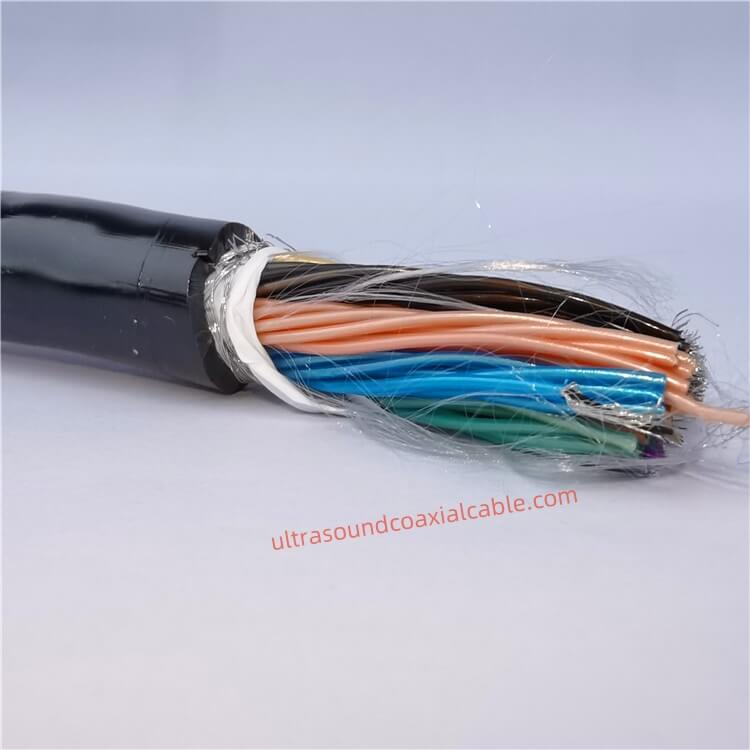
Customizable Ultrasound Coaxial Cable Assembly – 42AWG to 30AWG, 6.6mm OD, 18GHz Bandwidth

Customizable Ultrasound Coaxial Cable Assembly – 42AWG to 30AWG, 6.6mm OD, 18GHz Bandwidth

High-Performance Ultrasound Coaxial Cable Assembly: 42AWG to 30AWG, 6.6mm OD, 18GHz Bandwidth Engineered for precision in medical imaging and industrial applications, this customizable coaxial cable assembly delivers exceptional signal.

High-Precision Ultrasound Coaxial Cable for Medical Imaging – Low Noise, Flexible Design, 42AWG

High-Precision Ultrasound Coaxial Cable for Medical Imaging – Low Noise, Flexible Design, 42AWG

Ultra-Flexible 42AWG Medical-Grade Coaxial Cables for High-Precision Ultrasound Imaging Designed for demanding medical imaging applications, our Ultra-Flexible 42AWG Coaxial Cables deliver exceptional signal integrity, noise reduction,.

Contact Us

Feel free to reach out to us for any inquiries or orders.

Call Us

Have a question? Give us a call!

                   +8618818785005(Whatsapp)

Email Us

Send us an email and we'll get back to you soon.

sales@custom-cable-assemblies.com
       
Home Products Contact