Title: Maintaining Your Ultrasound Coaxial Cable: A Step-by-Step Guide to Safe Cleaning Ultrasound coaxial cables are critical components in medical… - Professional Ultrasound Coaxial Cable Solutions
Learn more about, latest news, frequently asked questions
Title: Maintaining Your Ultrasound Coaxial Cable: A Step-by-Step Guide to Safe Cleaning
Ultrasound coaxial cables are critical components in medical imaging systems, ensuring high-quality signal transmission for accurate diagnostics. However, improper cleaning or maintenance can lead to performance degradation, electrical hazards, or even permanent damage. Whether you’re a healthcare professional or a technician, understanding how to safely clean and care for these cables is essential. In this guide, we’ll break down best practices, common mistakes to avoid, and how brands like FRS can help streamline your workflow.
Ultrasound coaxial cables are exposed to bodily fluids, gels, and environmental contaminants daily. Over time, dirt, grease, or dried coupling agents can degrade insulation, corrode connectors, or interfere with signal clarity. A poorly maintained cable may produce weak images, require frequent repairs, or even fail entirely. By adopting a systematic cleaning routine, you extend the cable’s lifespan, ensure diagnostic accuracy, and comply with infection control protocols.
Before handling the cable, always turn off the ultrasound device and disconnect the probe. This prevents accidental electrical shorts or damage from sudden power surges. For added safety, wait 1–2 minutes after powering off to let residual energy dissipate .
Use a dry, lint-free microfiber cloth to wipe away surface dirt or gel residue. Avoid abrasive materials like paper towels or scrub brushes, as they can scratch the cable’s outer jacket. For stubborn debris, lightly dampen the cloth with distilled water—never use tap water, which may leave mineral deposits .
Opt for a mild, pH-neutral detergent diluted in lukewarm water. Brands like FRS Medical Solutions offer specialized cleaning agents compatible with medical-grade cables, formulated to dissolve organic residues without harming insulation. Avoid harsh chemicals like bleach, hydrogen peroxide, or alcohol-based cleaners, as these can degrade rubber seals or corrode metal contacts .
Focus on high-stress areas:
After cleaning, use a dry microfiber cloth to absorb moisture. For hard-to-reach areas, employ a low-heat air blower (set to ≤50°C) or let the cable air-dry in a well-ventilated area for 15–20 minutes. Rushing this step with a hairdryer risks overheating sensitive components .
Check for fraying, cracks, or discoloration. If the cable feels stiff, apply a silicone-based lubricant approved for medical use. Brands like FRS provide silicone grease designed to protect against oxidation without attracting dust .
FRS understands the unique demands of medical imaging. Their products are designed to complement your workflow:
By integrating FRS products into your maintenance routine, you minimize downtime, reduce repair costs, and uphold the highest standards of patient care.
Cleaning an ultrasound coaxial cable isn’t just about hygiene—it’s about preserving the integrity of your diagnostic tools. By following these steps, avoiding common pitfalls, and leveraging trusted brands like FRS, you can ensure your equipment remains reliable, safe, and efficient. Regular upkeep not only extends the lifespan of your cables but also contributes to clearer imaging and more confident diagnoses.
For more information on FRS products or custom maintenance solutions, visit their official website or contact their customer support team today!
Discover our most popular furniture pieces that are loved by customers worldwide.

High-Performance Flexible Coaxial Cable for Medical Imaging & Ultrasound Systems Designed for demanding applications in medical imaging, industrial diagnostics, and high-frequency signal transmission, this ultra-flexible coaxial ca.
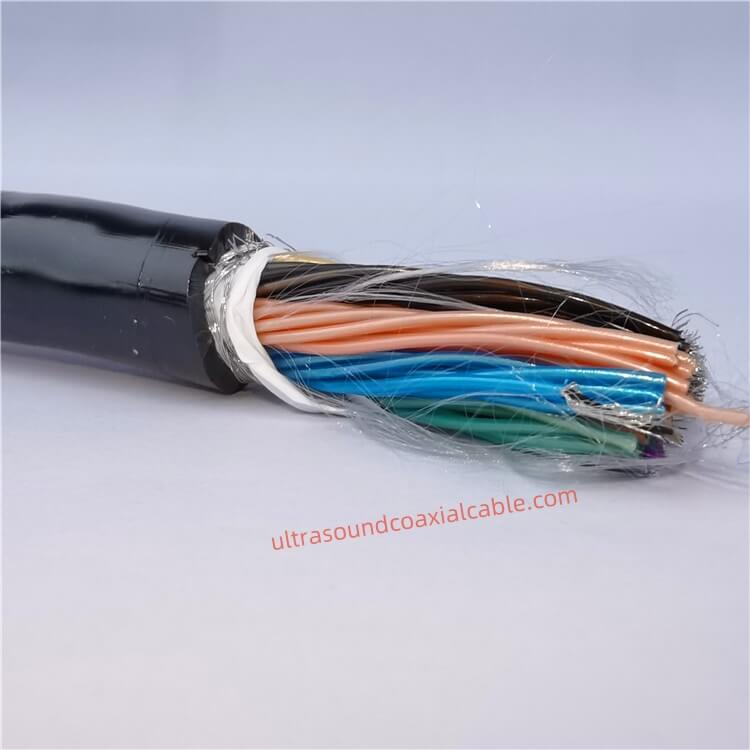
High-Performance Ultrasound Coaxial Cable Assembly: 42AWG to 30AWG, 6.6mm OD, 18GHz Bandwidth Engineered for precision in medical imaging and industrial applications, this customizable coaxial cable assembly delivers exceptional signal.
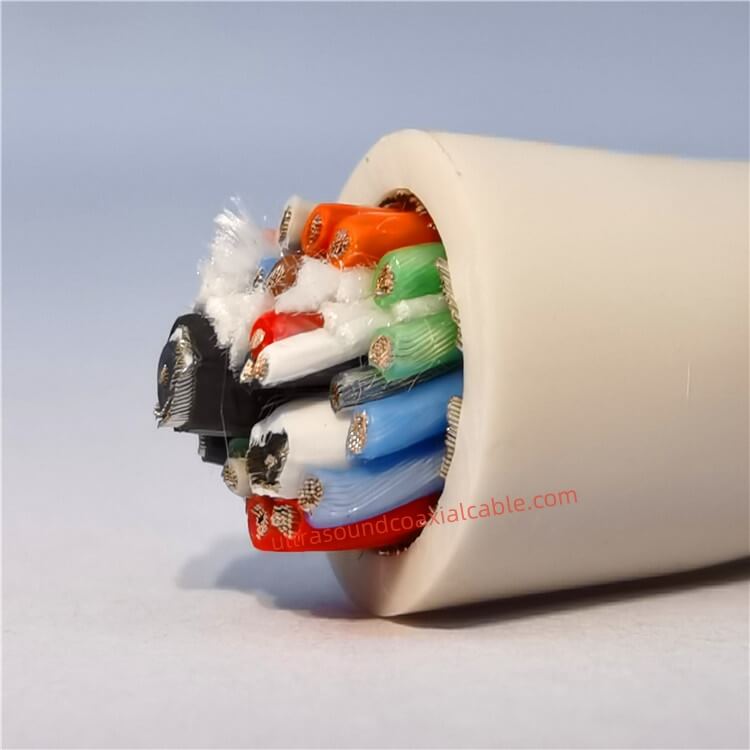
High-Precision 138-Core Medical Ultrasound Coaxial Cables | 0.2mm Ultra-Fine Biocompatible Design for Diagnostic Imaging Product Overview Engineered for advanced medical imaging systems, our 138-Core Medical Ultrasound Probe Coa.
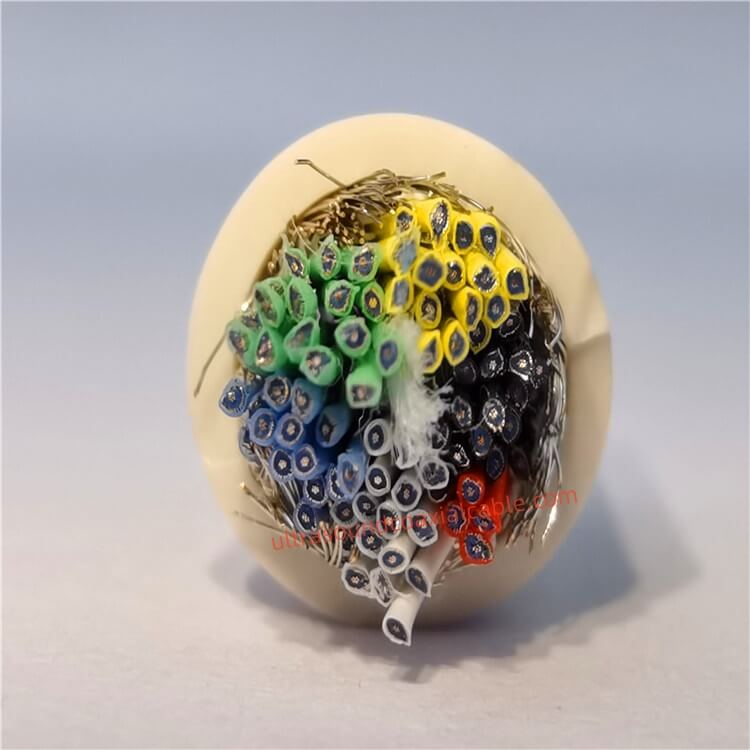
Product OverviewThe Ultrasound Coaxial Cable is a specialized cable engineered to deliver ultra-low signal loss, exceptional shielding, and unmatched durability in critical environments. Designed for medical imaging, industrial testi.
Feel free to reach out to us for any inquiries or orders.